Posted: 2026-08-18
Desc: Incredible title, no notes
Tags: [Physical Tech] , [2026]
I swear, I can explain...
So alright, ten months ago, I brought up to a friend that, "I bet you (me) could make VR full body trackers with Altoids tins as the case", and this idea lurked around in my head for those ten months. On paper, this makes some amount of sense, people 3D print cases for smolslime / butterfly trackers. Really, what's the difference between me using Altoids tins as a case, instead of investing money in a 3D printer ?
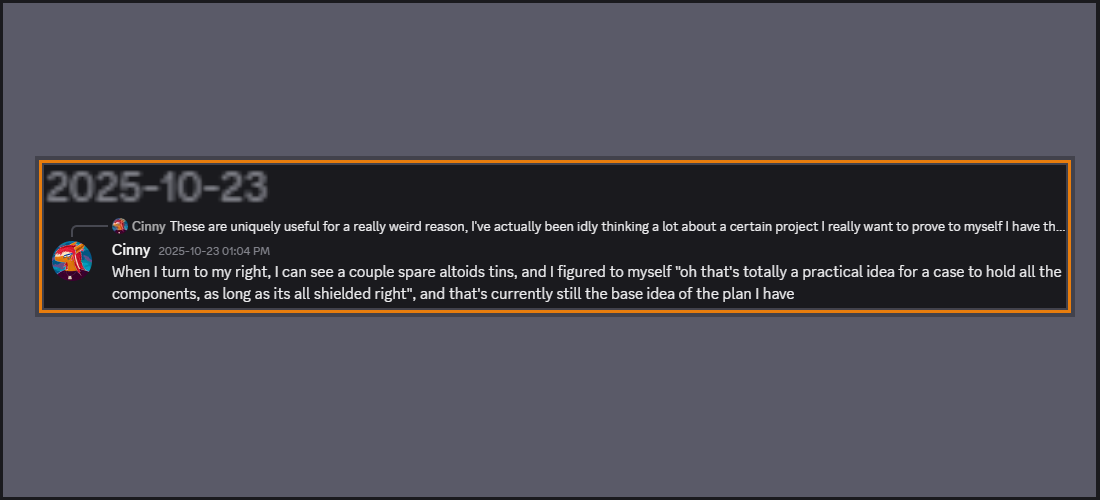
I didn't give it too much thought for those ten months. I took the time to get the precise names of each component used in a smolslime tracker so that, when I was ready to tackle it, i could take my slowly increasing stash of Altoids tins, order the parts, and cram them all in somehow. Furality Ultra wound up being the push to get me to order the parts, the little sparkle of magic to convince me to just go for it.
Most of the parts were sourced from AliExpress, of which I have...thoughts about. I'll leave a summary-description below if you're interested in my thoughts about using AliExpress for the first time.
"I am in fact interested, please elaborate"
First things first, you don't get to set your own password, you can only sign in via e-mail authentication
*double checking myself...*
Apparently I can, but upon logging in via e-mail code, then "resetting" my password that does not exist, I don't get a secondary follow-up 6-digit e-mail code to even see what it does. I get the philosophy behind not trusting the average user to be secure with passwords they choose, but I've never come across a site that has been so hostile against my own attempts to set a simple password before.
Another issue is how often they lie in listings, stating "49% off, one-time offer: applies to one item only" only to go to checkout, and be told that whoops, no, you don't actually qualify for that discount, and the total winds up being the same price as just ordering from a less gross feeling website.
I was also redirected multiple times off from aliexpress.us to aliexpress.com where there was seemingly no continuity between carts, and no obvious cue which listings on the US store would rip me away to a completely different page. The whole ordeal left me so icky feeling and frustrated that unless there's truly no ohter place to source a part, I'm sticking with smaller sites that may charge full price on an item and its shipping, but at least I don't feel wrong or insulted for ordering something. It wasn't worth the maybe $15 I saved in the end
The only part that wasn't sourced from AliExpress in the end was the IMU from SlimeVR's store directly. Several months ago, I may have ordered all the parts much earlier, but found that their store wouldn't accept shipping to the US for some reason. When I checked back post-Furality, it didn't seem to have that problem anymore
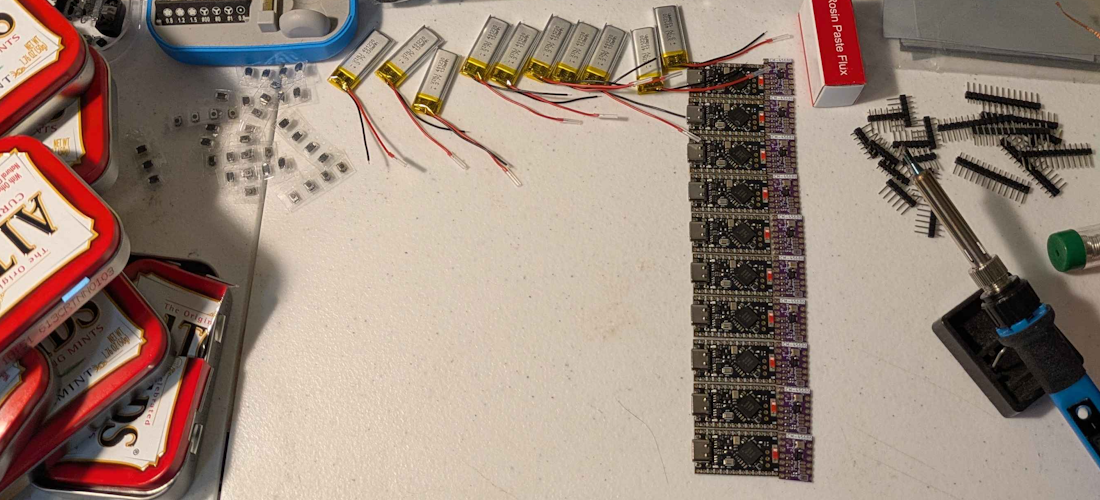
But eventually, they all arrived, and I realized a major flaw right away.
"Ah. I actually need a decent amount of quality wire, and a lot of kapton tape"
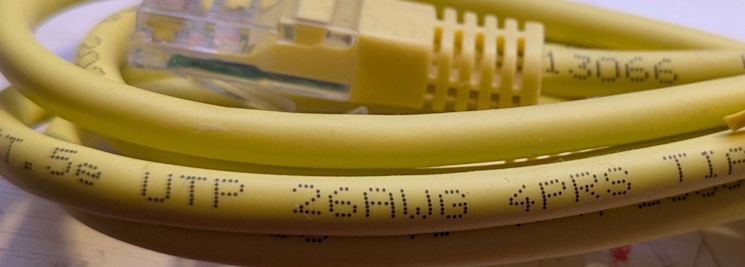
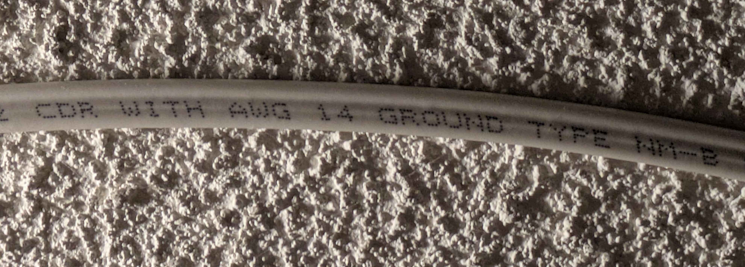
On this front, I just went to Amazon, as I was riding the motivation to finally tackle this, and didn't want to wait. Future reference, the AWG you may see printed on ethernet cables, or shitty ceiling lights with exposed wires ? That's an actual standard in North America for wire gauge. Britian apparently uses SWG, and the IEC just bundles them all up under their international standard defined in IEC 60228. Wikipedia has a very cool interactive diagram comparing AWG, SWG, and millimeters. Also, kapton tape that is 1mm thick will insulate an Altoids tin from shorts. Kapton tape is actually EXTREMELY helpful, I've found


Sorry, I blacked out there for a second when getting into the details of wires. Allow me to refocus by complaining a little.
Did you know that 200 million people have Amazon Prime subscriptions ? I'm not one of them, for the record, but at the time I found it hard to source kapton tape and wire with detailed reviews on short notice that to be frank, are basically a 50/50 chance to be fake if they're a few months old. Also, a bonus source for you, this is a fairly well documented phenomenon, and is defintiely not me silently working on my ability to cite things properly.
Anyhow, I don't like Amazon's new favicon when viewed in a desktop browser. It looks like AliExpress, and makes it feel like a least common denominator, makes it feel icky. Not a fan
Though speaking of, if you are going to solder, make sure you run a fan on it for air circulation, but angle it away just a little so that it isn't cooling your solder, as that was a mistake I made for all ten of them, several times
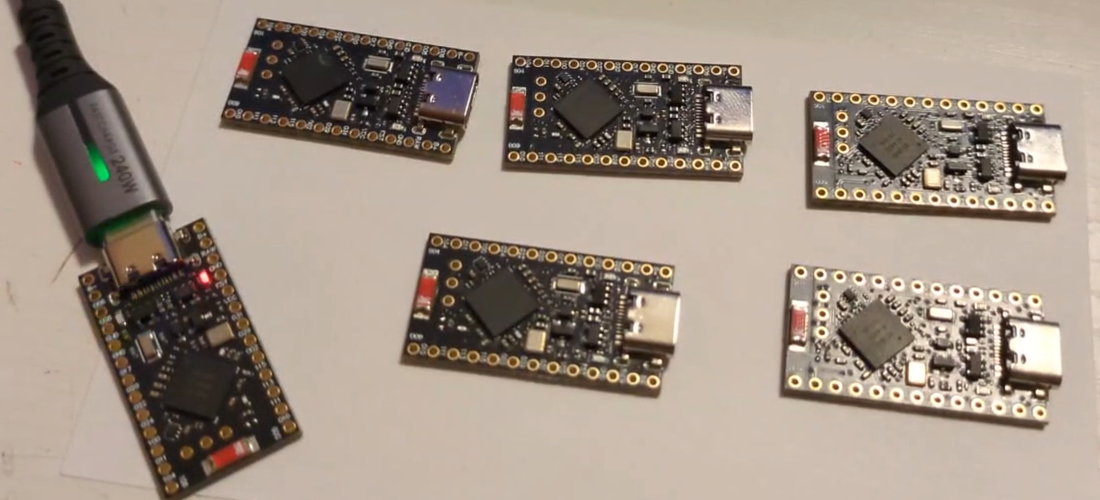
Step one was flashing. The precise chip I chose as the "brain" of the tracker was a ProMicro NRF52840. Before you even solder anything, you have to flash all ten. (Or however many you have. I went for 10, because if I busted 2 while learning, I'd still have a full set of trackers with 8. 10 is just the next threshold of a set)
When the parts originally came in, I successfully flashed two, and set it aside, feeling content that I could tackle it whenever I felt like it. Later on, with only a few days left until a meetup, I did in fact feel up to it, and promptly forgot how I flashed them whatsoever. First tip I wish I found earlier; Smolslimes have documented LED codes, they are very helpful. When the NRF boards are flashed properly, they should blink twice, a sensor error. Because they have no sensor on them yet, that's completely fine.
The dongle was a whole other ordeal. There's technically two ways to flash the aforementioned NRF board. One is with a simple file explorer, where you drag and drop the provided firmware (in my case, ProMicro, SPI, Clock On, No Sleep, SW0 Enabled). The second way, is with a tool that gets brought up a lot, SmolSlimeConfigurator where you either choose the firmware you want to flash, or provide it yourself. I wound up needing both of these methods, where they were initially flashed over the file explorer, then re-flashed with SmolSlimeConfigurator when I found out way later on that the trackers were fighting for the same ID.
Now despite the fact that SmolSlimeConfigurator claims it can flash the dongle as well (because we also have to flash the dongle too), I could not get it to work properly, and went for the much more terrifying option of nRF Connect for Desktop, which felt very overkill and wrong, but did wind up working. Well, working when I forcefully bypassed it wanting to install JTAG stuff that was completely irrelevant for this project that I did not want to install. Flashing the dongle required vaguely waving a provided magnet at it, which felt even more wrong, but was somehow the right thing to do. For thoroughness, I'll state that the firmware I flashed was Holyiot, provided under SmolSlime's documentation.
Finally, we have the NRF chips and dongle flashed, we can actually solder.
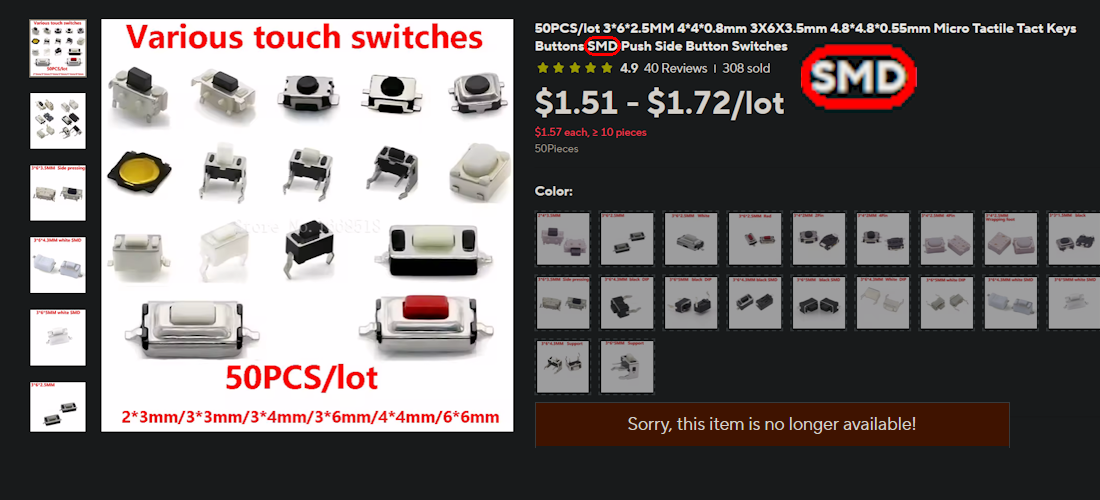
Or so I thought. See, I could only find one video of these being assembled in the precise "stacked" method I was going for, and they used the precise same buttons I had ordered, the same ones I thought smolslime's documentation linked. Except, they weren't. What you see above is exactly what smolslime's documentation links, an out of stock AliExpress link.
A problem even I noticed, for all my beginner-ness at all this; Those are SMDs, surface-mounted switches, and the video just...bends the contacts down, and sends it crooked. This felt like watching someone almost literally in this case, cram a square peg into a round hole. At the time, this was infuriatingly confusing and wrong, because I had mixed up which of the contacts on the board would be connected by the button, believing that 008 and first GNG (Ground) had to be bridges, basically no gap whatsoever. In reality, the documentation picture by picture, plus on their PCB diagram, shows that you're connecting 006 to either the first or second GND.
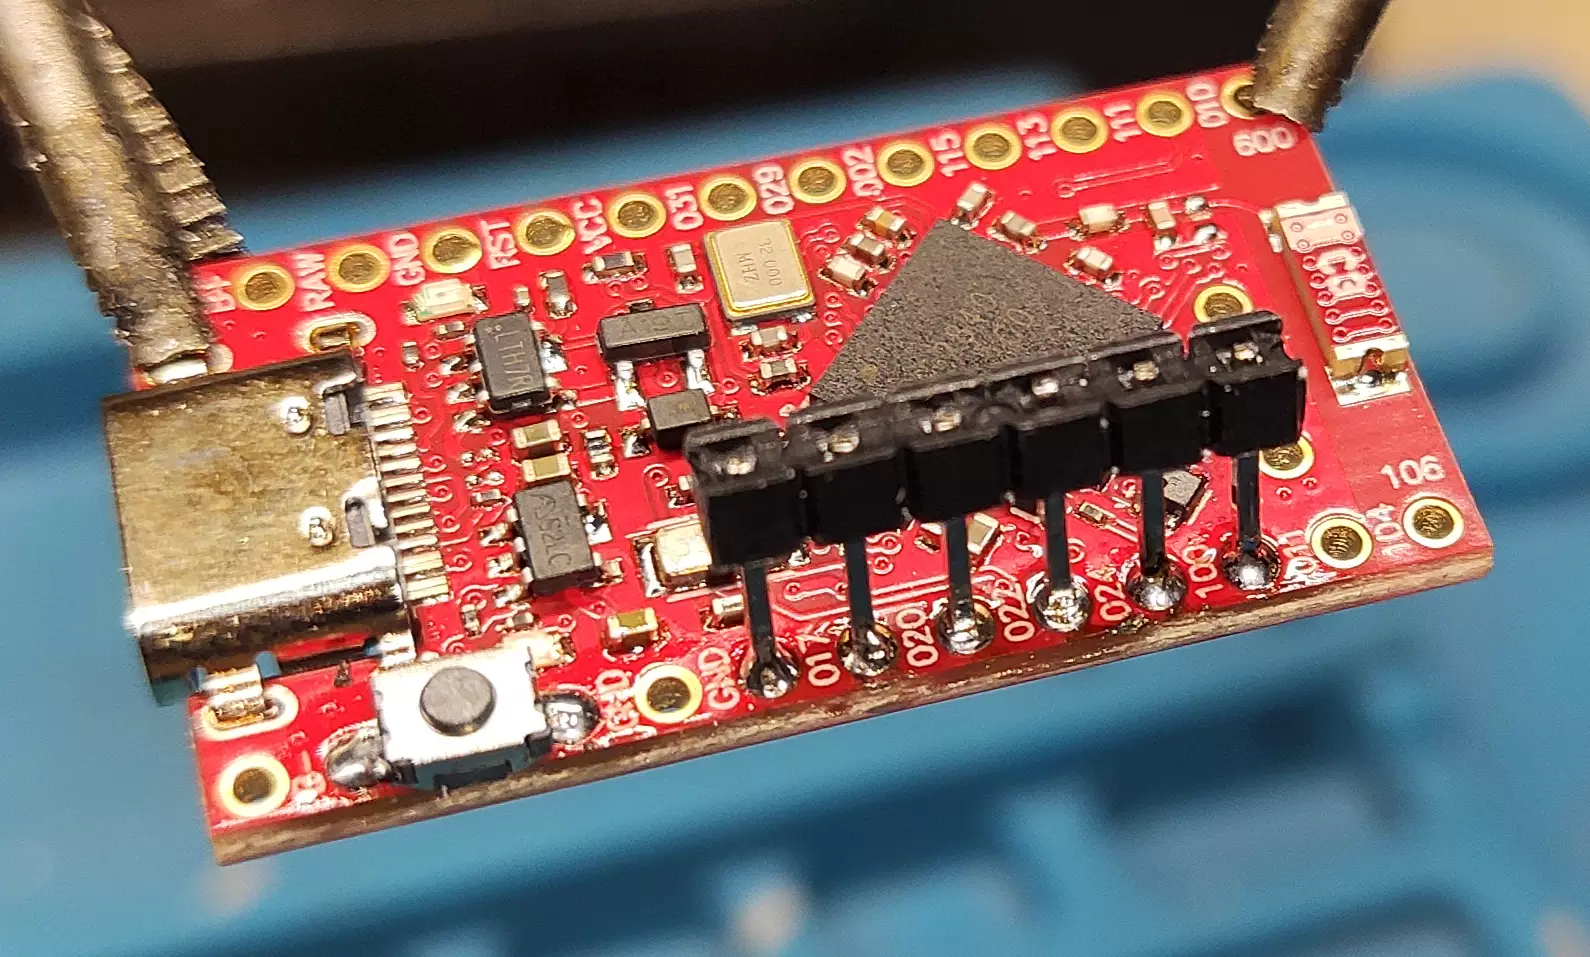
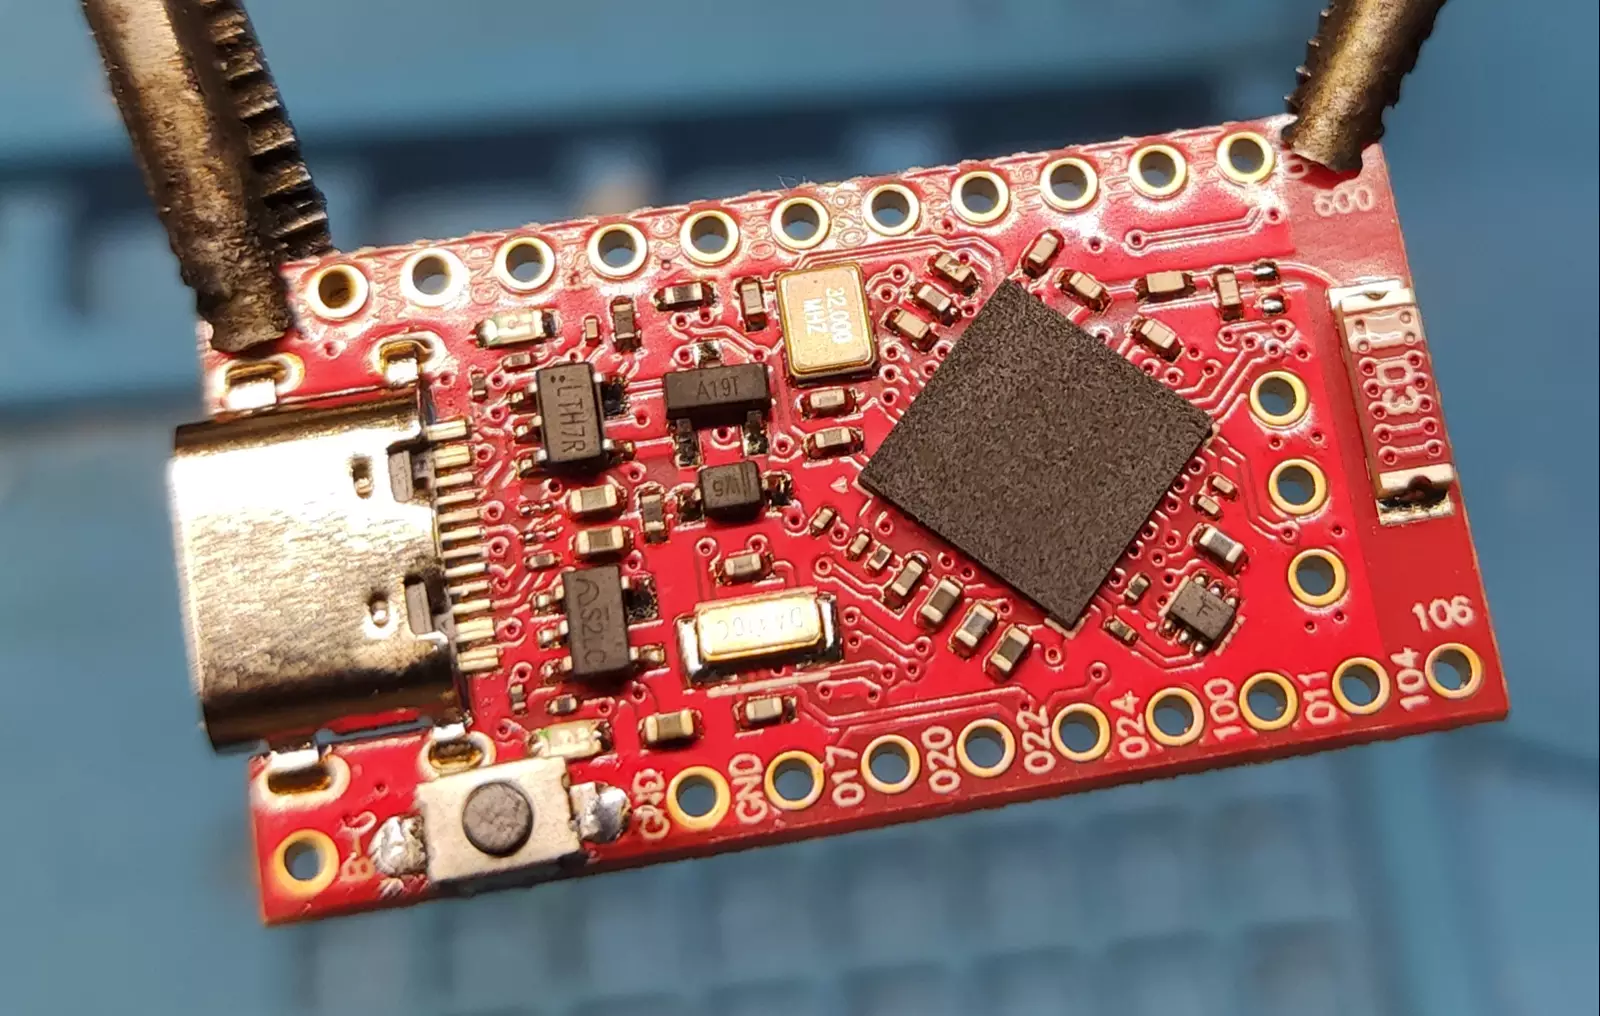
Whoops.
So I sat there stumped, displeased with the idea of cramming surface mounted buttons to contacts where pins should go. I felt very defeated, and thought about it for an hour or two, and proceeded to have a very cursed idea
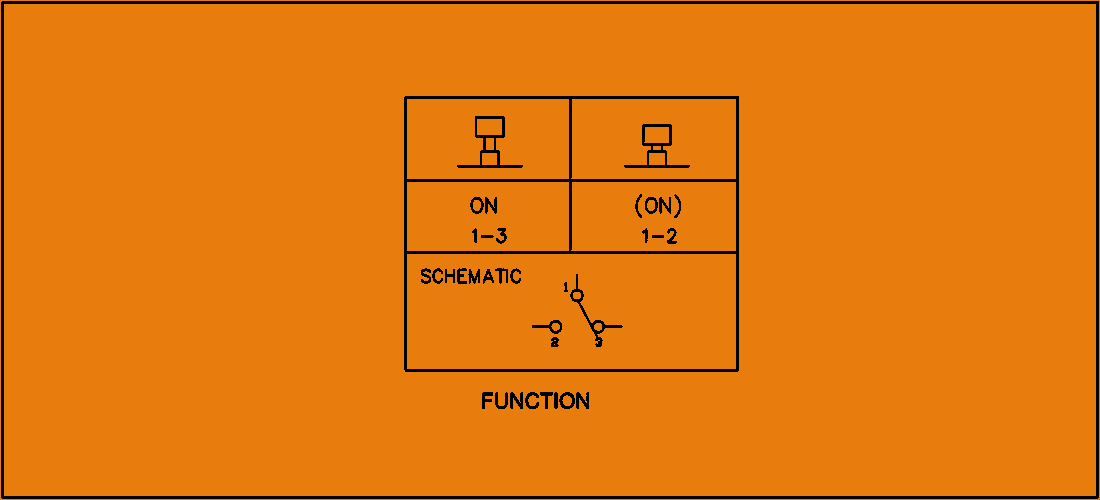
All a button really does, is allow contact between two points when pressed down. How else can we externally connect two points on a board...
By pure chance, I had been thinking a lot about that new James Bond game for some reason. Haven't played it, but have done a lot of watching other people play it. It's a very strange game in a way I can't really articulate well, but my own artistic feelings on what that game tries to accomplish aren't relevant. What is relevant, is the scene where he has to hotwire a car, to give chase to 009 after beating the Finnish assassins.
Technically, the way hotwiring older cars works is to just do what the ignition key is doing for you. Rip off the steering column, twist the battery wire and ignition wire together, so they make contact, then tap the starter wire against them both, simulating a twist of the ignition key. Once the car starts, you pull the ignition wire away, and you're ready to go.
Sans the twisting of two wires together, could we just solder a red and black wire to 006 and GND respectively ?
(Only realizing now how hilarious it is that the board's reset/restart pin is 006, and I got inspiration for this from 007 chasing 009. There's a seven eight nine joke in here somewhere...)
I cannot articulate properly how absolutely fucking giddy I was to realize what I was about to do was in fact absolutely possible. I thrive for janky solutions that look stupid, but just work. It was in this moment, that I dubbed them "Slimy, Hotwired Altoids", and that if anyone asks what trackers I use, I'm just going to tell them "Altoids."
Still, just because I proved I can substitute a button with two wires, doesn't suddenly mean that this will all perform flawlessly. After all, I've not even done any real soldering yet, and at this point, I had about 28 hours left to assemble at a minimum, five.
Second major problem; Mounting.
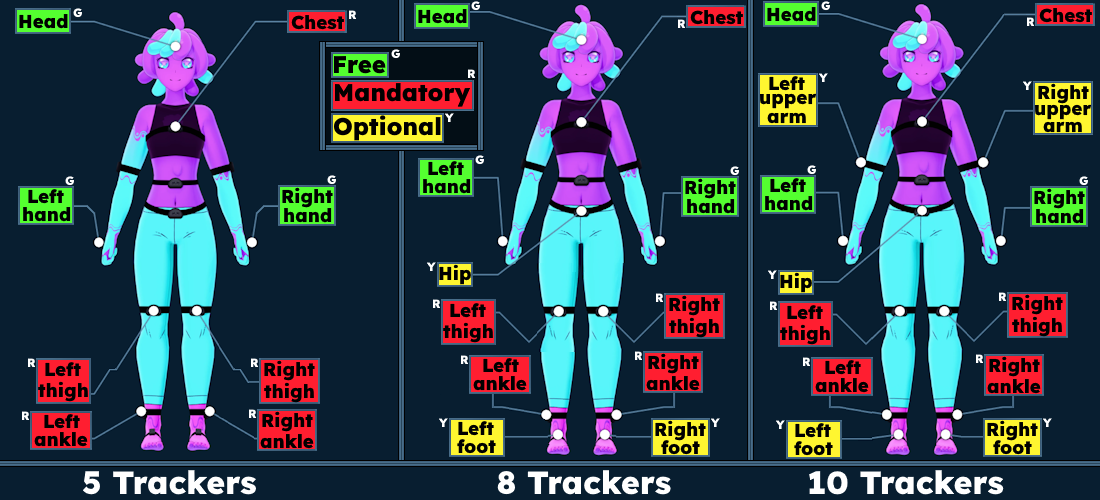
Above is SlimeVR's diagram (or rather, a heavily edited version of the in-program UI to show which trackers are mandatory, which are optional, and which are provided with one's headset for "free") of where trackers would be mounted on one's body when you have five, eight, and ten working. Around the start of this project, I had purchased some cheap velcro straps with the idea that only a couple would need to be secured to me, and I could just affix the rest to myself with rubber bands, or just duct taping them to my body temporarily.
Yes, I am aware this is the most James's Channel solution to these problems, but at this point, nothing is too absurd to not try.
By the way, SlimeVR's default UI font they use is Lexend Bold. Regular searching couldn't tell me that, and the idea to just search their code for the answer was in hindsight, the solution I should've thought about first
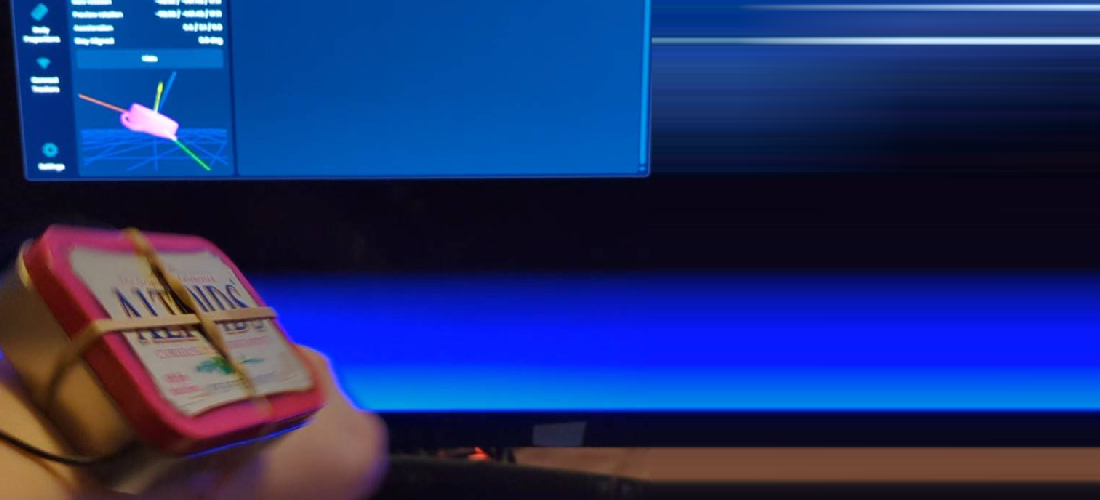
(No, I am not punching my monitor. Yes I did notice this photo looks like that by pure accident, and had a good laugh about it)
Tracker one I decided would be the chest tracker. This meant that size did not matter, it was the least likely to snag on anything, and I'd have the maximum amount of room to work with. After a lot of struggling to figure out why I kept getting a sensor error (2 flashes, often caused by soldering that doesn't make contact with the board it should be attached to) and accidentally ripping off one of what I think were solder-bridge config jumpers, which if I'm understanding correctly, are not needed for this project, I did manage to get it to connect.
(It's also on my arm because apparently the only thing I captured about it in the moment was a video of me attaching it to my arm, to show that 6DOF movement was in fact being tracked by the IMU, that the tracker was "working")
In the moment, I didn't understand that I also didn't need so many extra wires on the outside, as the video tutorial I was following showcased board resetting by bridging GND and RST on the right, so the final product looks quite lovingly ugly, and was strapped to my chest with two velcro straps, because...
Well, I don't really have a way to put this modestly, but women typically have something on their chest that gets in the way of strapping anything there. In the end, I was in fact able to keep it in place by just doing what I did before HRT in...what was it, 2021 ? 2022 ? I'm...extremely surprised I can't remember (Went through my photos, 2022, which surprised me greatly), but I'd just stick my chest out and push my shoulders back slightly, which creates enough passive tension to keep the tracker in place. Plus, it makes me feel powerful
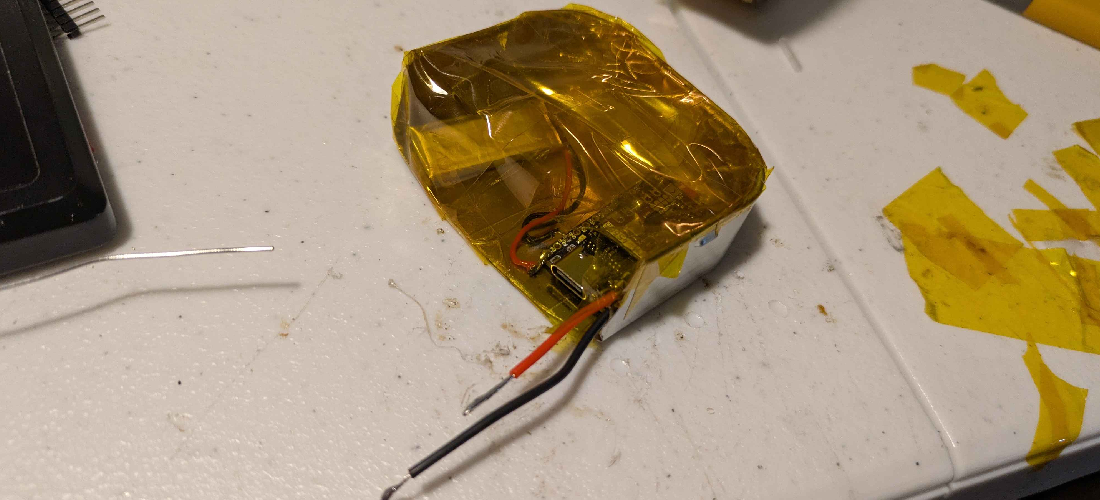
It was at this point that I decided to experiment with form factor, and see what various ways to cram these parts into an Altoids tin worked best. The first freeform attempt was using half of the main body of the tin like a case that has the side exposed, and the top sealed by kapton tape. This wound up working best for my feet when all 10 would wind up being built.
Ultimately though, this was very...bulky in a way that I knew wasn't strictly necessary, and I wanted to make something a bit slimmer, with less overall space taken up
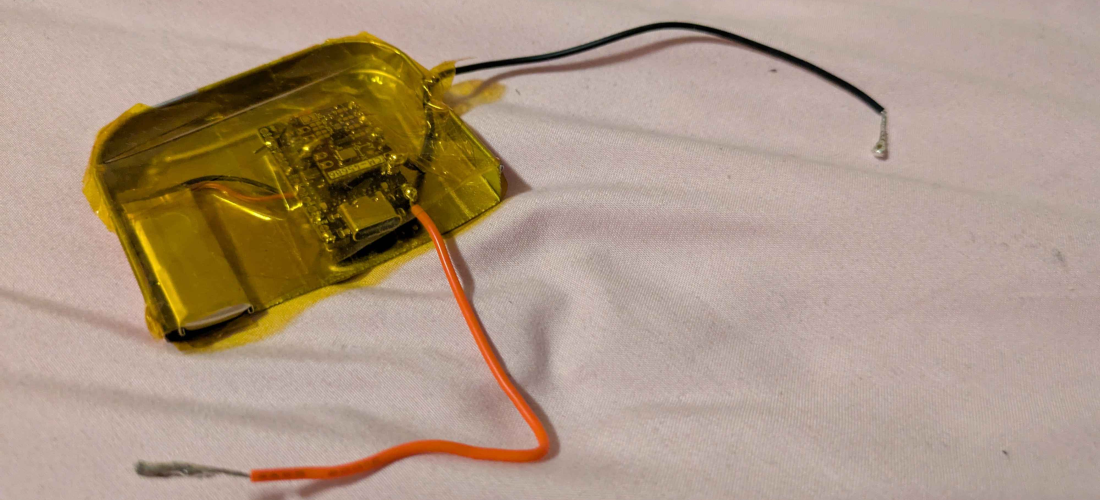
So, I took the same idea, but applied it to the lid only, and this was much better. Because the "case" is slightly flexible, I can bend it ever so slightly to fit the curve of my thighs, which I only thought of after the meetup, but still.
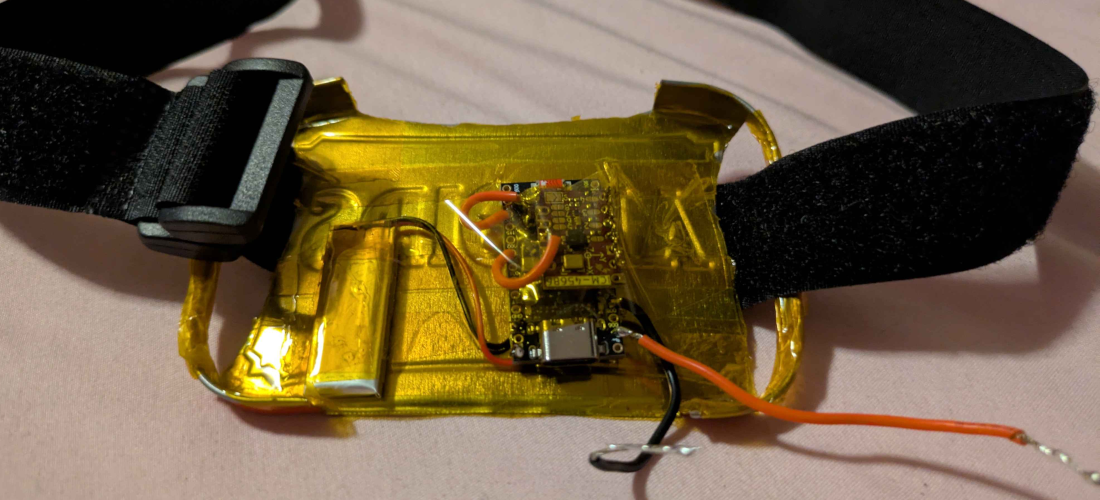
It is at this point that I will deviate slightly to follow the natural order of how I designed the rest of these, without the self-imposed time constraint of soldering and figuring out how calibration works with what wound up being about 15 minutes to spare in the end.
If we don't cut the lid in half, we can very aggressively pierce and trim holes in each side to act like a loop, where we can have an improvised belt using velcro straps that wrap around and connect from both sides. Again, something about this didn't feel like it should work, but the rules of reality seemingly did not care about how I felt for this project.
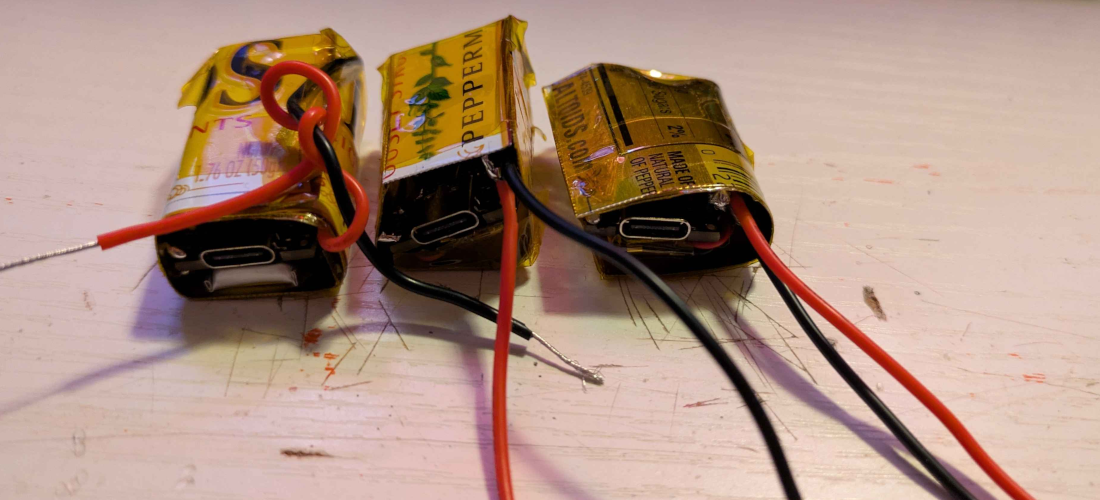
The final form of the Slimy, Hotwired Altoids. My attempt to get the tracker as absolutely small as possible, with no actual care about how it would mount to my body at all. The best dimensions I got were 29-34mm x 19-27mm x 15-19mm, and if I was a lot more precise with my soldering methods in a less "figuring this out as I go" way and more a "we're going for perfection, even if it costs busted components" way, I know for a fact I could get these down to a smaller size with better form factor. If you're wondering how these disassemble and are psychotic enough to try and replicate all this yourself, here's some step by step instructions.
Step 1: Cut the kapton tape at the back
Step 2: Push the guts out onto the table with your finger or a tool like you're disassembling a 2nd gen Nano.
Step 3: Fix whatever's wrong
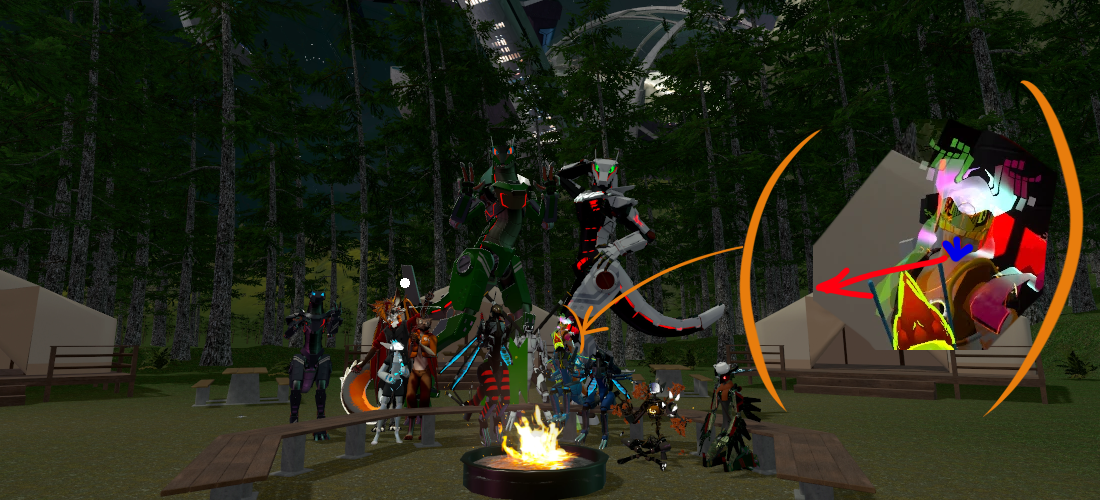
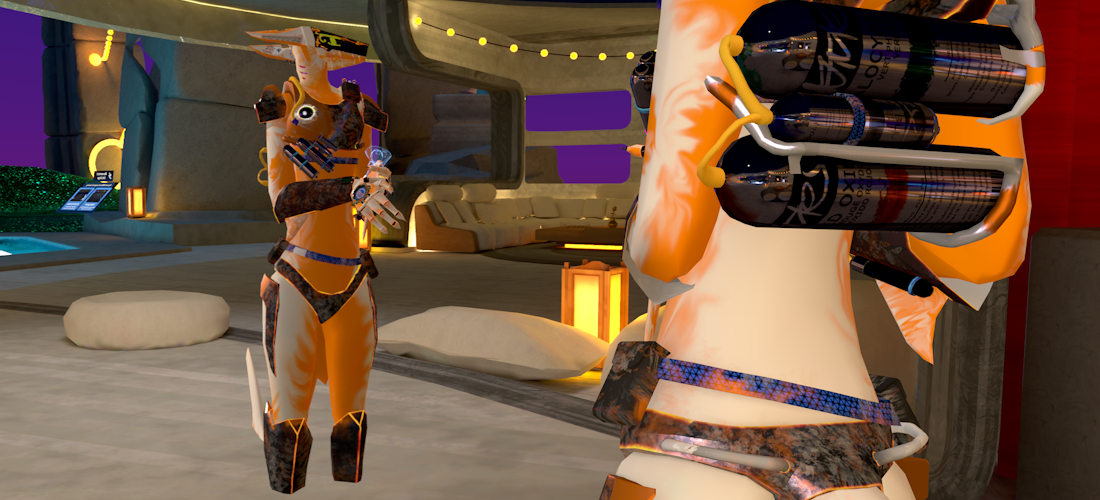
and despite my left thigh tracker cutting out a fair but for what was likely poor soldering reasons (or possibly because it was duct taped to my thigh as if I was smuggling drugs into Arstotzka), I was in fact able to keep them going for a whole meetup. Here's me posing in a way that is only possible with full body tracking that has enough data to pose my head away from my chest, which is I think one of the biggest appeals to full body tracking. I suspect that if I'm feeling deeply, truly lazy, I would just put on the chest tracker, and be pretty pleased.
Which...is a really important detail to note that isn't immediately obvious to an unassuming perspective, now that I type it out. If you only want one for your chest, just so you're not moving like Michael Keaton's Batman, or two for each upper arm to track correct arm rotations when you want to do shit in VR, that is possible, because the chest is connected to the head. You get a head tracker for free by using a headset, and the chest tracker is a mandatory one, there's no missing mandatory trackers in the chain. Same with arms, your controllers are free, and they connect to your head with just one upper arm tracker (Don't quote me on this, from what I can tell there's a lot of people online stating that you need five trackers minimum, but the miscommunication arises with people not adding the "...for full body tracking to work" part. Partial tracking does seem possible, given this dev statement. I'll still come back to this paragraph block to confirm before posting this though)
(did it work, yes/no) (forgot to delete this on upload, so I'm leaving it. Answer is: It does, kind of. There's almost certainly a setting to auto-calculate basic leg locomotion based on headset height from floor, I just couldn't be bothered to dig through the options after burning so much energy getting this post up)
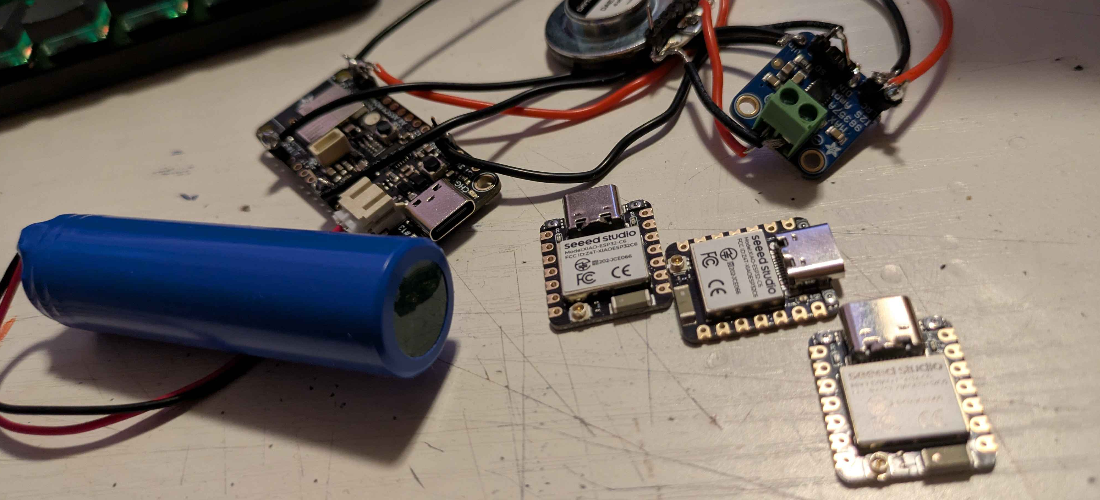
So that's it, that's the story of my slimy, hotwired altoids. Before this, I had soldered a grand total of three pins, in what is the first blog post on this website, and it certainly shows. Not as much concrete standardization back then, but I don't know if I want to really touch it up any.
Regardless, this project gave me a ton of confidence to tackle a far more niche, complex, and potentially unique electronics-based project for VR that at the time of writing, I currently have all the necessary parts for. So keep a look out for something even cooler the next time I summon the amount of focus and energy needed to do another massive writeup like this. I did not expect this post to take so much out of me, it's possible that my brain is tuned to only writing one post a month because of the extra effort that goes on behind the scenes to get that one post as good as I can get it. Maybe it's just the fact that adapting #vid-07-hotwired to mono required multiple hours of tuning a preset, testing, then realizing VP8 doesn't work for mono.
With this finally written, I now have one less project to actively think about. Finally. I'm crawling back to my cave, my head hurts
🧡
- Aethena, 2026-08-18